There are quite a few blogs out there saying how easy it is to Start Your Own Blog in 15 minutes.
I’m not saying you cannot start one quickly, but it will take some time to customize your website, learn WordPress, create content, and then start marketing your website to drive traffic.
I want to be real with you that it won’t be an overnight success without a little effort.
It will take time and hard work, but I DO BELIEVE that anyone can start a blog, share their passions, and make some money while creating a flexible lifestyle for themselves.
This post contains affiliate links which means I may receive a small commission at no additional cost to you. To learn more about affiliate links, click here.
When I was on maternity leave back in 2015 I decided to start a blog and use it as a creative outlet.
I did my research online and the majority of bloggers recommended WordPress.org to set-up a website because it allowed the most flexibility.
I consider myself fairly tech-savvy, but WordPress was a whole new learning experience for me. It took time, research, and watching several tutorials until I understood the basics, but looking back it was completely worth it.
Below I have outlined steps on the following:
- Set-Up a Web Hosting Account
a) Select a Plan
b) Purchase a Domain Name or Get One Free when hosting with BlueHost - Pick a Theme for Free or Purchase a Template
- Start building your website
- Set-up affiliate links to start making money
1) Set-Up a Web Hosting Account
I searched around the web and started reading other bloggers’ posts for suggestions for web hosting companies.
BlueHost was the most widely recommended so I decided to give it a go. Plus, if you signed up for three years it was only $3.95/month, which is a steal of a deal!
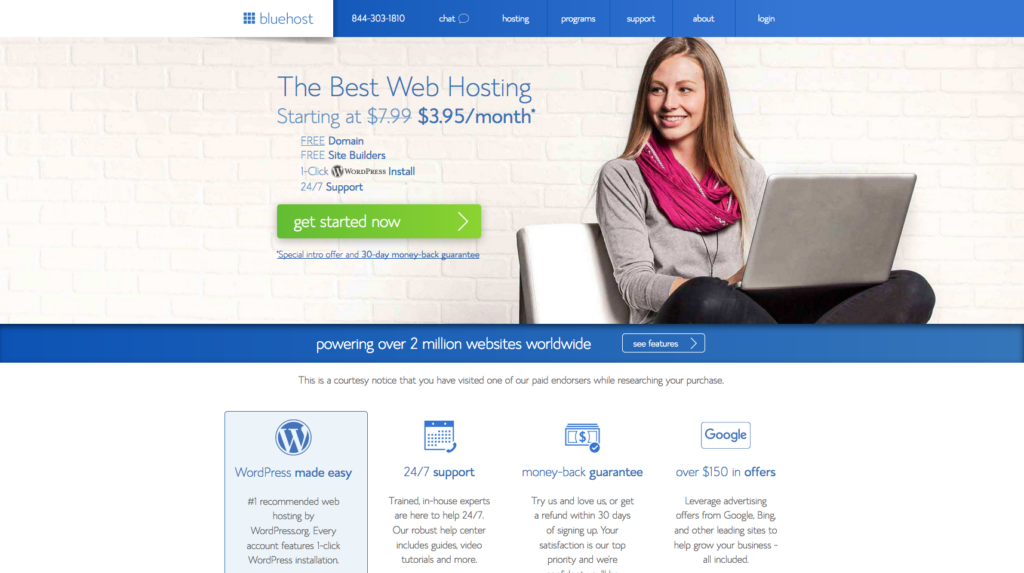
To get started, go to Bluehost’s home page and click “Get Started Now.”
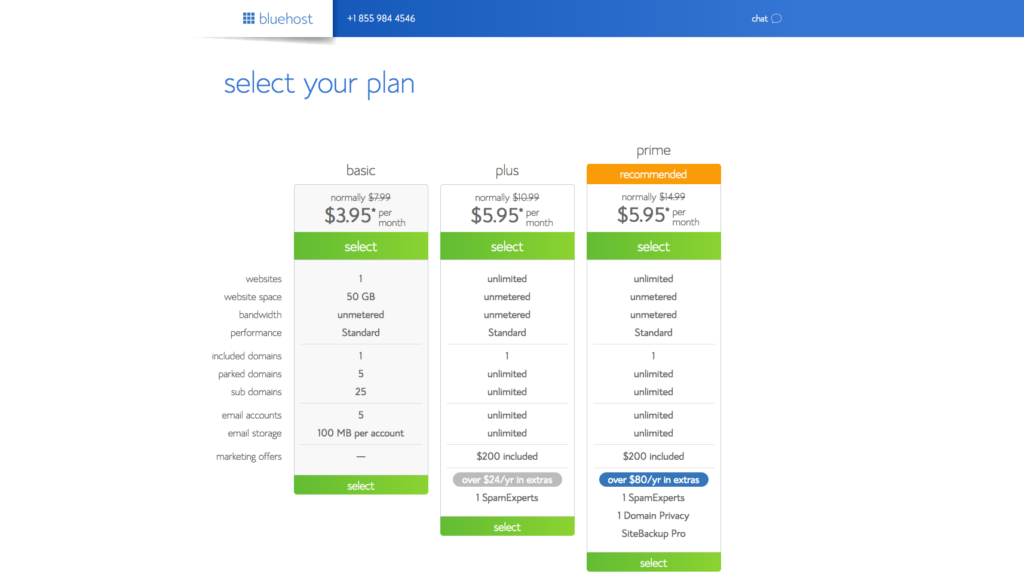
a) Select a Plan
I recommend starting with the basic option for now at $3.95 and if you need to upgrade down the road, you can switch to the plus or prime plan.
b) Choose a domain name for your site
Choosing a domain name is fairly important, so do your research.
For me, I wanted to brand myself so it was an easy selection to choose my name. Other bloggers will focus on their niche or the main topic they want to blog about.
For example, finances, fashion, or mom blogs are all popular choices that you can incorporate into your domain name.
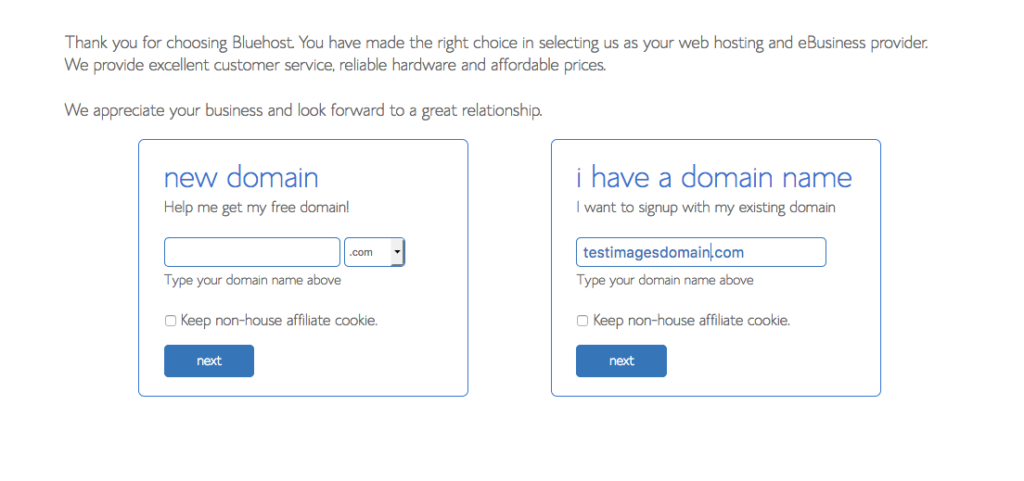
If you already own a domain name, there is a field you can enter your domain name, and you will just have to go through a few extra steps to make sure you get your DNS pointed to Bluehost.
If you don’t already have a domain name, you receive a free with your new WordPress hosting account purchase. Just type in the domain name you would like under ‘new domain’.
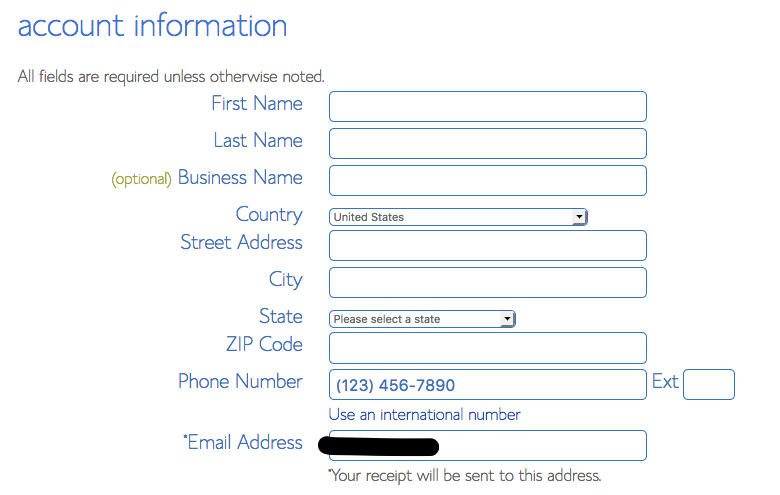
c) Enter your personal information
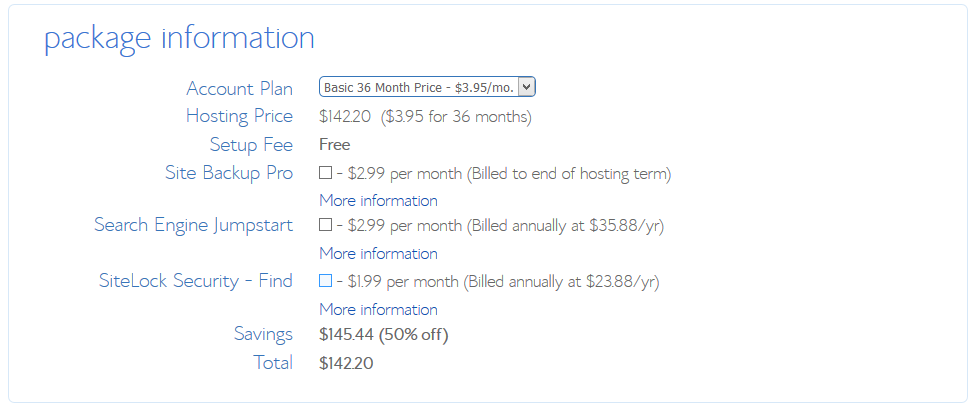
d) Package Information
I suggest just purchasing the basic web hosting, to begin with. You can always add on features such as site backup pro and others listed below down the road if you require them.
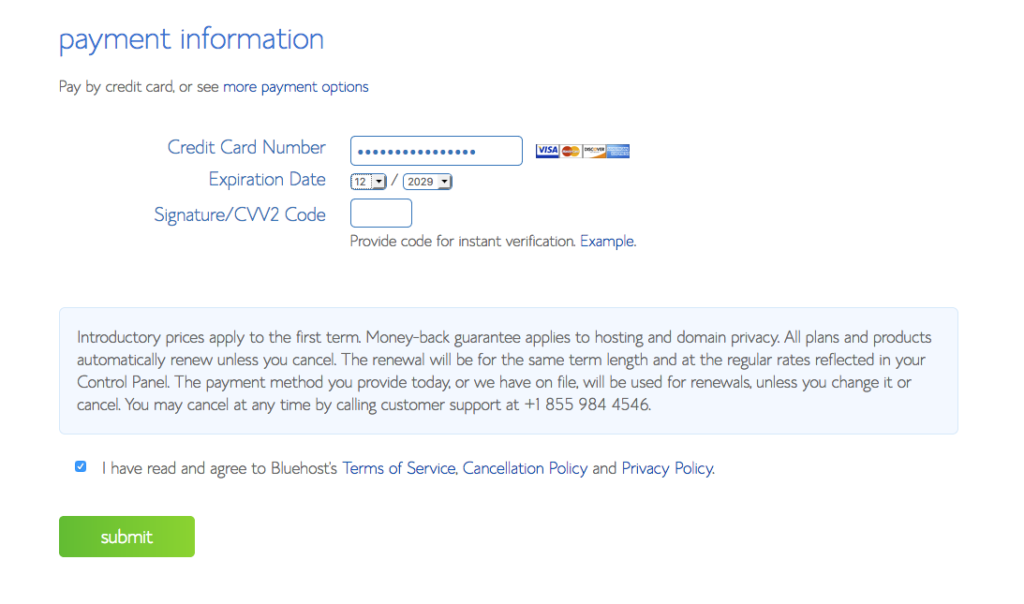
e) Payment Information
Bluehost does require that you pay for the 3 years of hosting upfront, although you can cancel your hosting any time during the Term by giving Bluehost notice by phone.
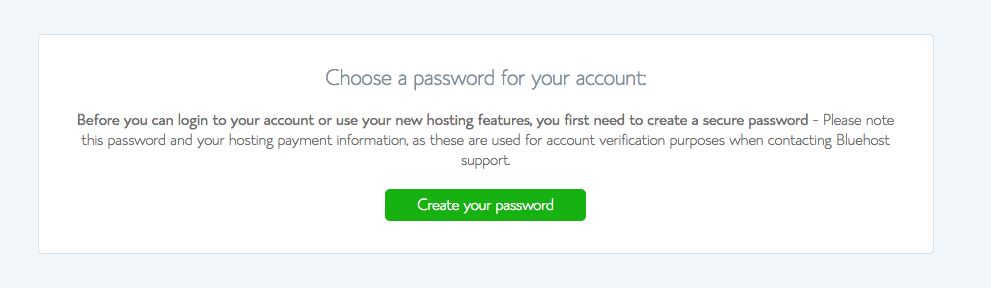
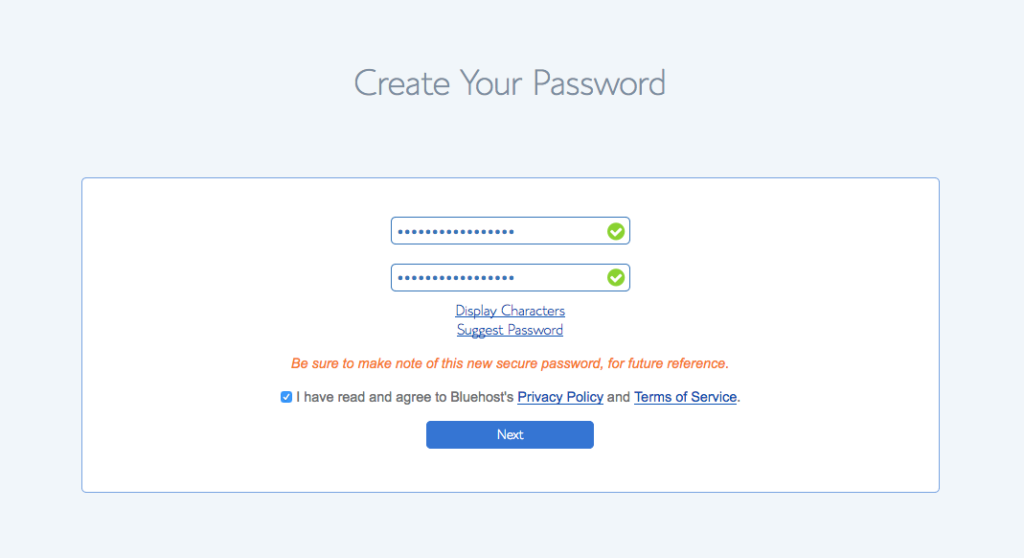
f) Create a Password
After you’ve filled in your personal information and have selected your hosting package, click the “Submit” button to complete your purchase. You’ll then be asked to create a password for your account. You can use the Password Generator to create a strong and secure password or create one yourself.
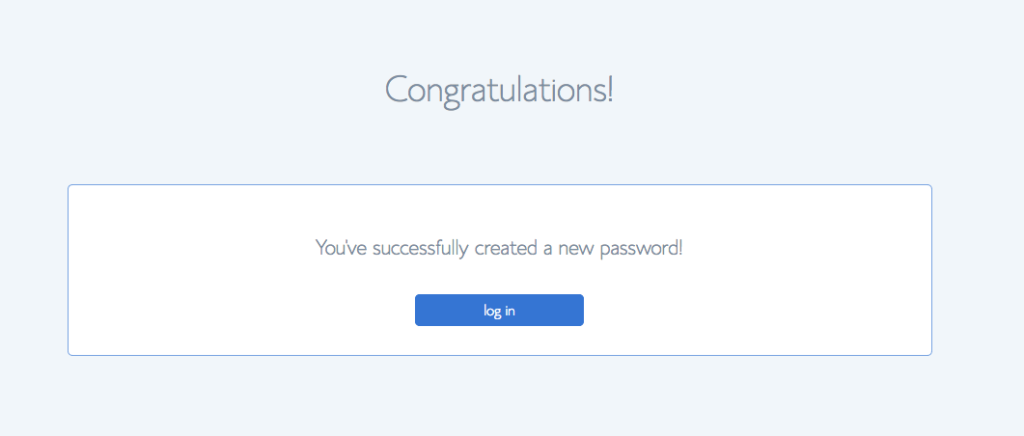
g) Log in to your account
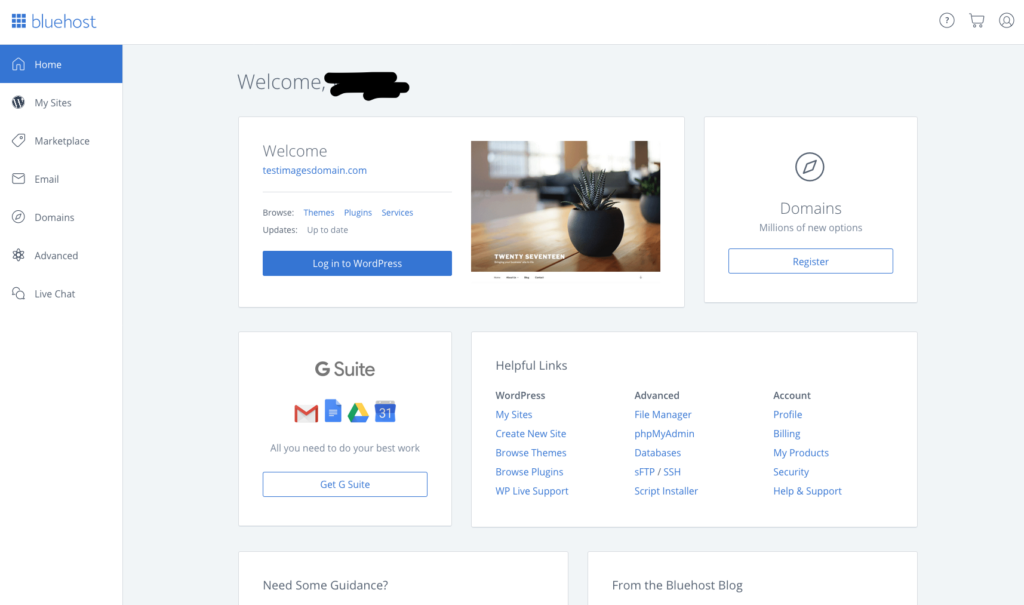
Now that you have created a new password you can get to business and log into your account.
3) Pick a theme
Bluehost has completely updated its login to make it easy for bloggers to create a new website.
Once you have signed up for hosting, you can select a free WordPress theme you would like to use.
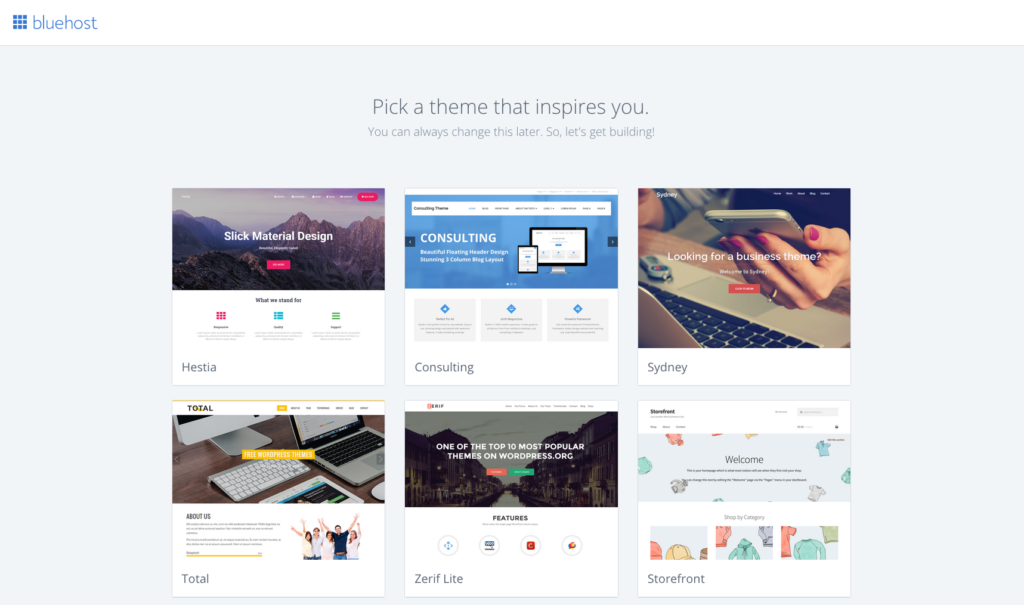
When I first signed up, I used a free option called Sugar and Spice to get an understanding of how WordPress worked before upgrading and purchasing a theme.
If you do not want to select a theme right now, you can simply skip this step.
Another option is to purchase a theme. There are a bunch of great sites out there to choose from, I’ve listed a few of my favorites below that are more feminine and girls if that’s the direction you want to go.
- Restored 316 – beautiful feminine themes priced around $75 plus you need to purchase the Genesis Framework
- Pretty Darn Cute Design – themes range from $50-$75 and they offer a variety of templates
- Bluchic – This website uses the ‘Olivie Theme’ through Bluchic and it’s was very easy to download and set-up.
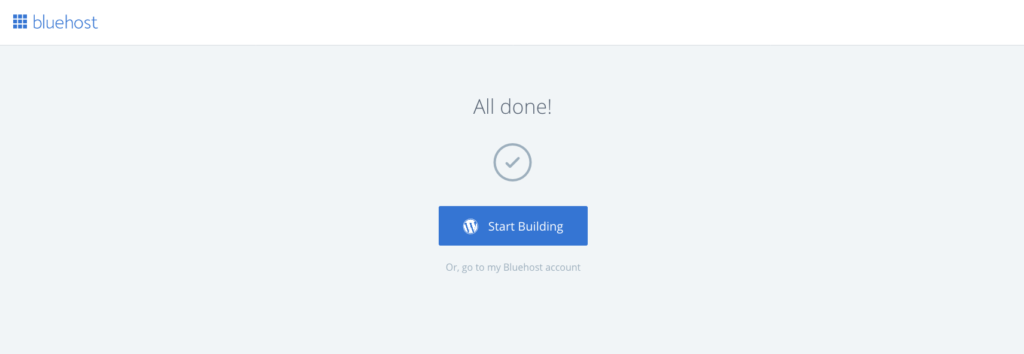
4) Start building your website
This is where the fun begins. You can start building your website in WordPress or if you want to check out your account details, you can click on ‘Go to my Bluehost Account’.
5. Set-up Affiliate Links and Start Making Money
You can choose from several different programs to start promoting products and earn commissions from them. Depending on how many monthly viewers you have, it may be difficult to get started with some programs.
Below I have suggested some networks that are easy to join now and start making money.
- ShareASale – an Affiliate Marketing Network where you can apply for programs such as Tailwind
- Shopstyle Collective – great website if you are a fashion blogger
- Amazon Associates – all products and services (There is a different one for Canada and the US)
> Learn how to sign-up and use ShareASale Affiliate Program <
When I first started blogging I signed up for every program I could.
While it was exciting, I was also receiving a ton of emails from affiliates and it became overwhelming.
I suggest picking one or two affiliates that resonate with you so you can give 110% to promoting that product or service. If you want to learn how to add affiliate links, click here.
In Review
I hope this helps you get started with blogging. If you have any questions, please feel free to ask me below. Check out my Blogging Resources page for more tips and tricks.
- How to Create a Favicon in Five Minutes
- 9 Amazing Websites with Free Stock Photography
- How to Improve Your Blog Post